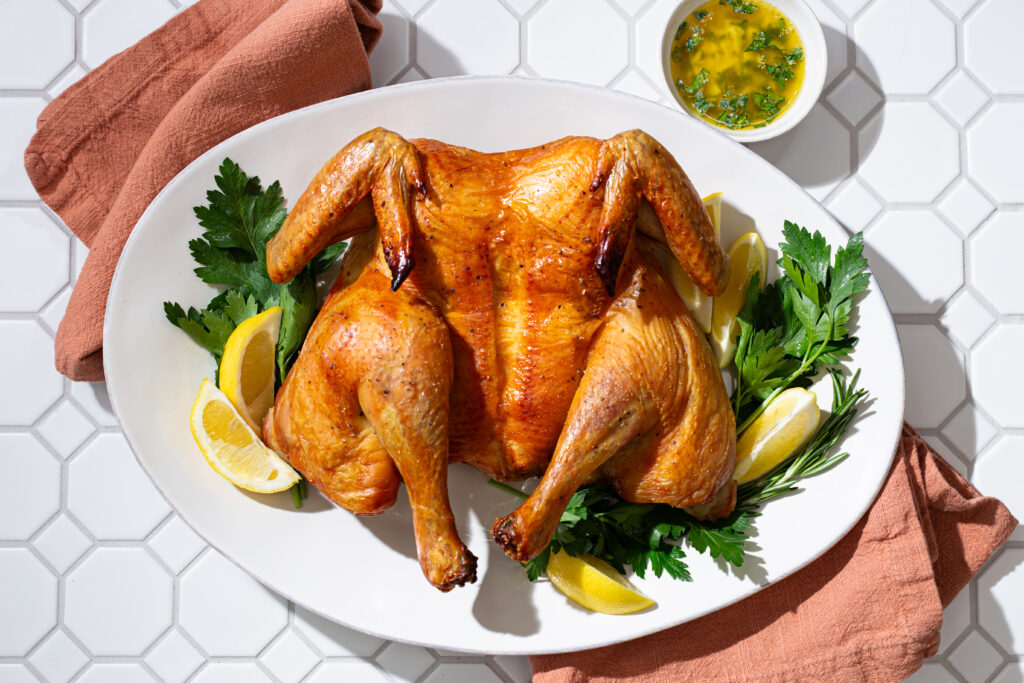
This is my favorite roast chicken ever. Period. It has the crispiest skin. And it has the juiciest, most tender, tastiest meat. And it is super easy to make.
Pair it with some simple sides for a delicious meal any night of the week.
Roasted Spatchcock Chicken
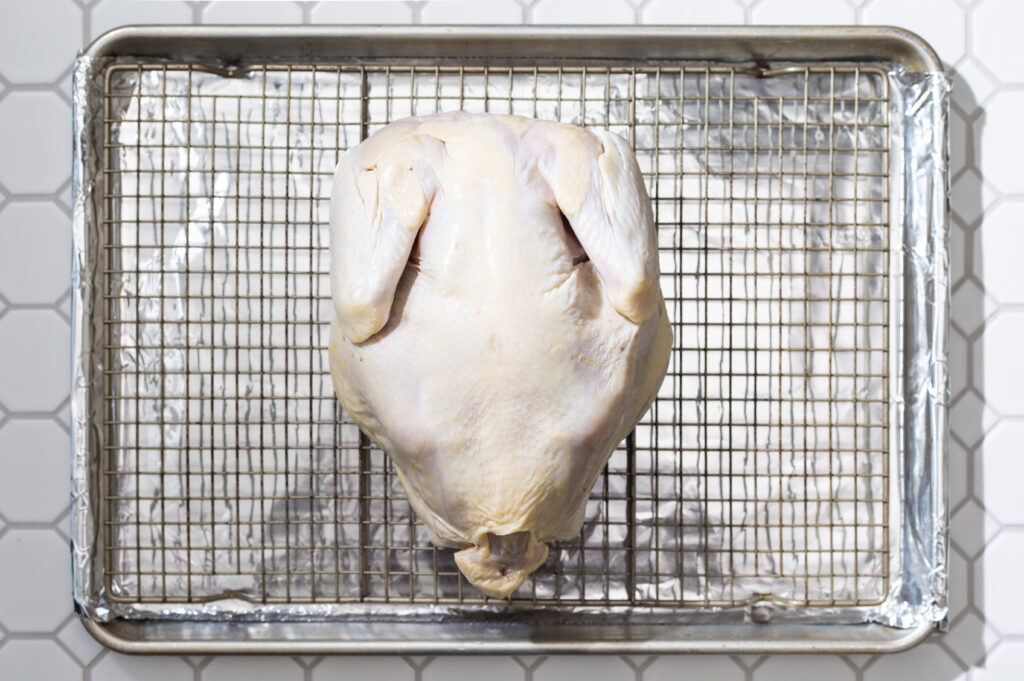
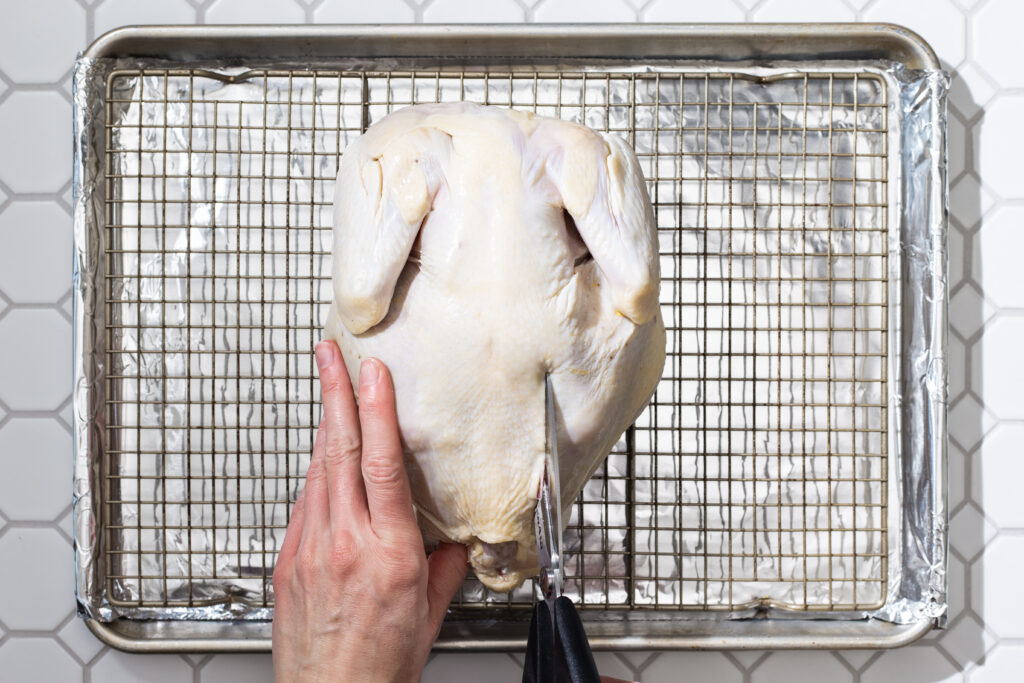
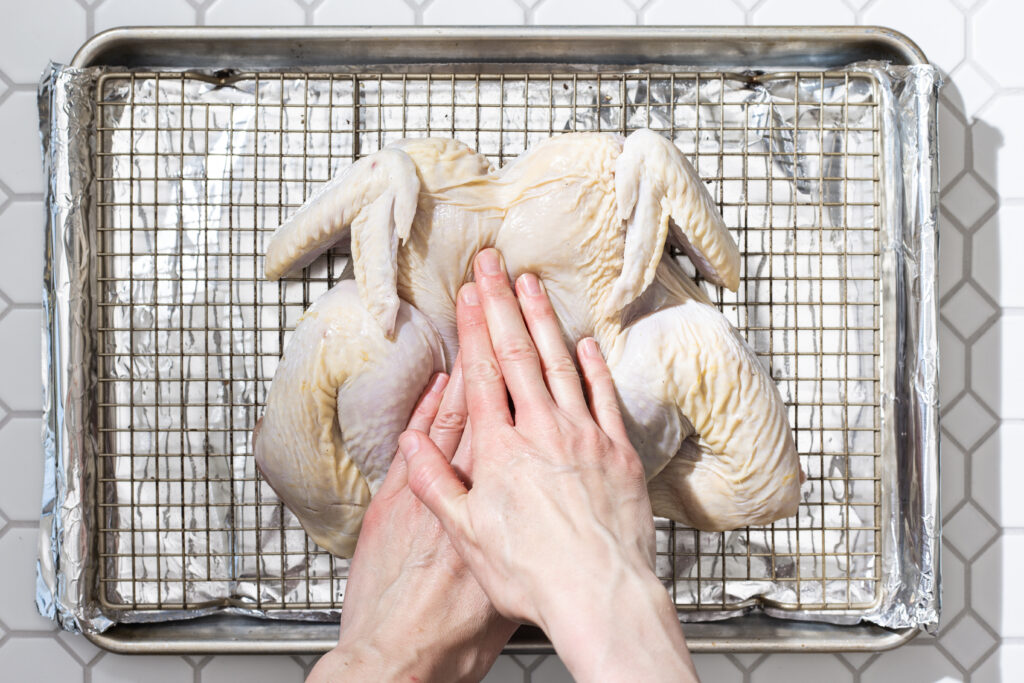
Spatchcocking a chicken can seem intimidating at first, but it is pretty easy once you get the hang of it. I included step-by-step pictures at the end of the recipe to illustrate how to spatchcock a chicken. If you don’t want to spatchcock a chicken yourself, you can buy one that is already spatchcocked at many grocery stores.
- 1 whole chicken
- 4 tsp sea salt
- 1 tsp black pepper, freshly cracked
- A small handful of parsley
- 1-2 lemons, cut into round slices
- 2-4 shallots
- 1 bulb of garlic
This recipe is a two-day recipe because the chicken needs to dry brine for 12-24 hours. But, the process is not hard and it does not have much active cooking time.
Directions:
Day 1
- Line a baking sheet with aluminum foil and place a baking rack on top of it.
- Remove the giblet bag, if your chicken has one. Pat the whole chicken completely dry with paper towels.
- Put the chicken, breast side down, on a sturdy surface like a cutting board. Using a pair of sharp kitchen shears, cut along both sides of the backbone. (Refer to the pictures at the end. You will cut through the rib bones, so use sharp kitchen shears and take your time cutting along the backbone.)
- Pat the inside of the chicken completely dry. Turn the chicken over so that the breast is now facing up and the entire chicken is spread out.
- Using both of your hands, press on the middle of the chicken and break the breast bone in order to flatten out the chicken. (Refer to the pictures at the end.)
- Pat the chicken dry one more time if needed.
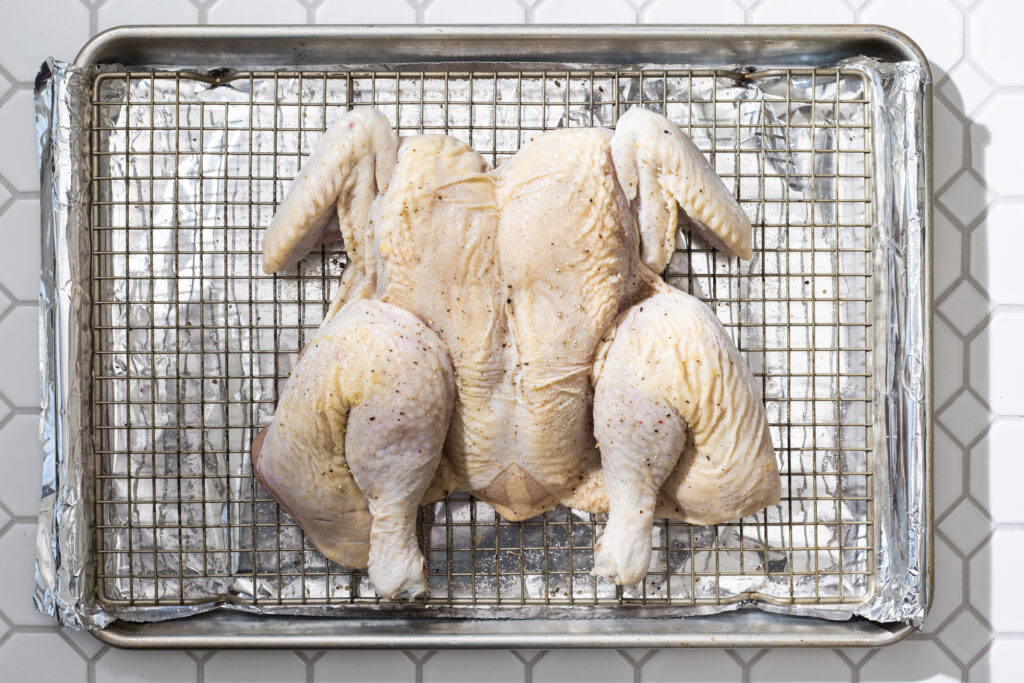
- Place the chicken, breast side down, on top of the baking rack. Liberally sprinkle salt and pepper all over the cavity of the chicken.
- Flip the chicken back over, breast side up. Liberally sprinkle salt and pepper all over the chicken, making sure to salt and pepper every crease as well.
- Put the chicken in the refrigerator uncovered and let it dry brine for 12-24 hours. The longer you let it dry brine the crispier the skin will be.
Day 2
- Preheat the oven to 450F. Take the chicken out of the refrigerator and let it start coming to room temperature while the oven is preheating.
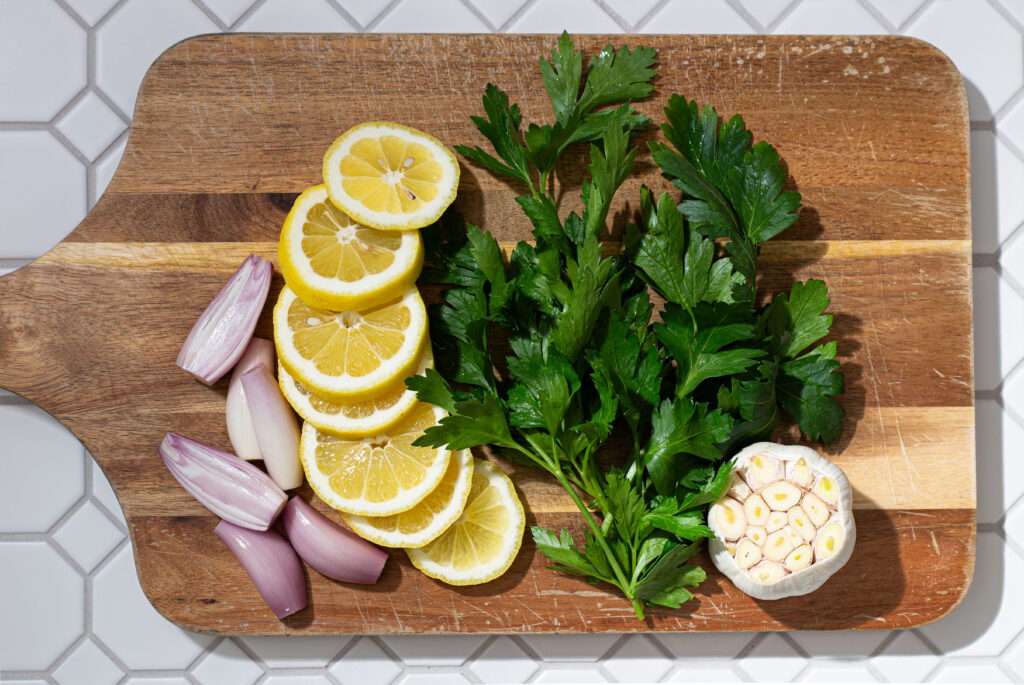
- Prep your aromatics. Rinse and dry the parsley. Peel the shallots, but leave them whole. Cut about one third off the top of the bulb of garlic, exposing all the cloves of garlic but keeping them all together.
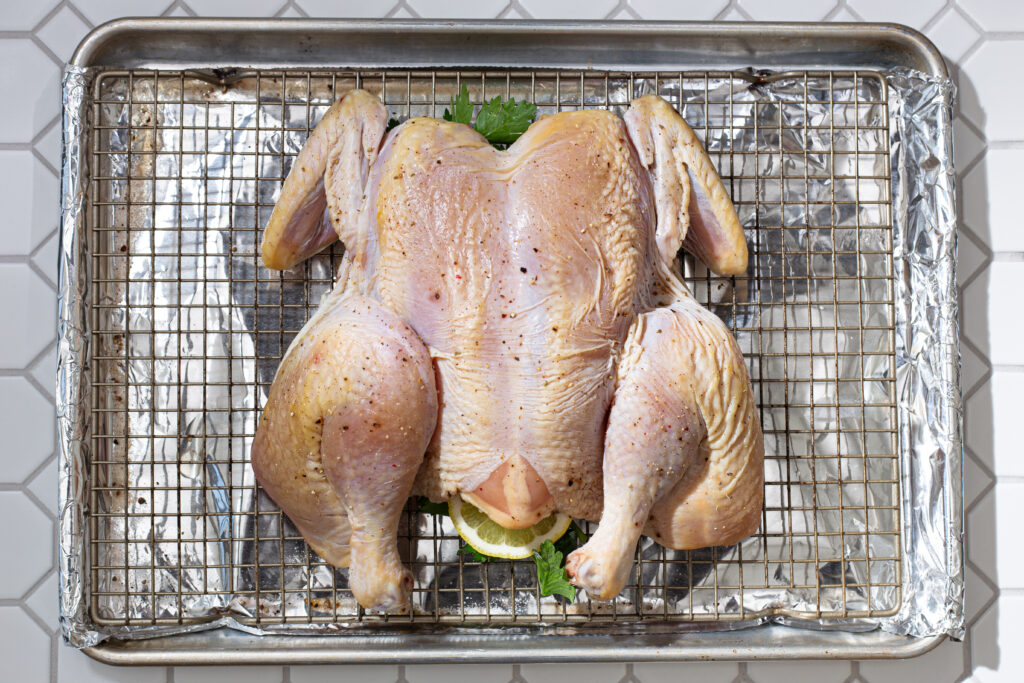
- Place the aromatics under the chicken. Lift the chicken up and lay the parsley, lemon slices, shallots, and bulb of garlic on the baking rack. Place the chicken on top of the aromatics, covering the aromatics completely with the chicken. (You do not need to season the chicken with any additional salt and pepper, it has enough from the dry brine.)
- Roast the chicken for 45-55 minutes. (Once the chicken breast reaches an internal temperature of 155-160F and the thighs reach 165-175F, remove the chicken from the oven. The temperature will continue to rise while it is resting. You can also test the doneness of the chicken by the color of the juices. If the juices run clear, the chicken is cooked.)
- Make the herby-garlic butter while the chicken is roasting (recipe below).
- Let the chicken rest for 10-15 minutes. (It is important to let the chicken rest to keep the juices from all running out and it drying out. The chicken will still be plenty hot after it has rested for 10-15 minutes.)
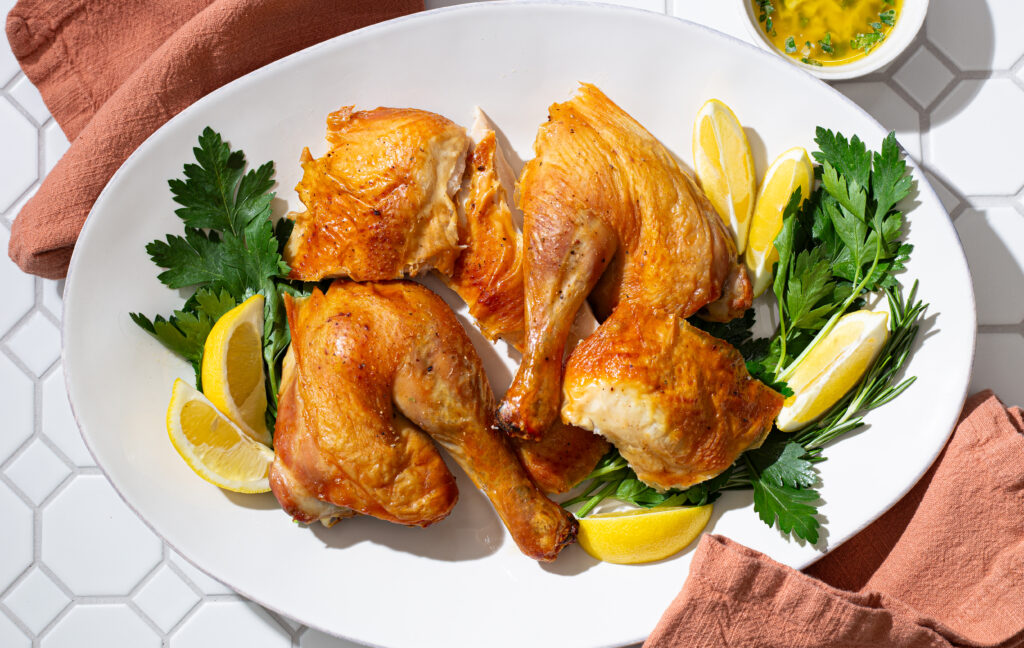
- Carve the chicken by cutting off the thighs then, cutting along the breast bone to remove the chicken breast.
- Serve the chicken with herby-garlic butter, if desired, and your favorite sides.
Herby-Garlic Butter
- 6 Tbsp salted, grass-fed butter
- 4 cloves of garlic, minced
- Juice of 1/2 lemon
- 1 Tbsp fresh parsley, finely chopped.
Directions:
- In a small pot, melt the butter over low heat.
- Once the butter is melted, turn off the heat and add all of the garlic. Let the garlic and butter infuse for 20-30 minutes.
- Add the lemon juice and the parsley. Stir to combine.
- Serve in small bowls alongside the chicken.
Test Kitchen Notes
Dry Brining: This recipe results in a chicken with extra crispy skin and extra juicy meat. The secret is the dry brine. Dry brining draws moisture out of the skin, renders the fat, and begins to break down the muscle fibers– resulting in moist and tender chicken. It also seasons the chicken all the way through, not just on the surface. Dry brining is vital. I like to prepare my chicken the night before I want to eat it. I spatchcock it, dry brine it, and stick it in the fridge. The next day, I pull the chicken out and cook it for lunch or dinner. (Although there is some prep and planning involved, it makes the actual cooking day super easy.)
Aromatics: The aromatics infuse the chicken with a nice flavor, but you don’t have to use any aromatics at all. My family loved this chicken when I only seasoned it with salt and pepper, no extra frills.
Herby-Garlic Butter: The Herby-Garlic Butter is also optional. But, it was my family’s favorite part of the meal.
No oil necessary: Some cooks coat their spatchcock chicken in some sort of fat before roasting it; I did not find it necessary for this chicken.
Sides: I like to prepare stovetop sides to go with this chicken, like mashed potatoes. If you roast vegetables at the same time as the chicken, it can create steam in the oven and prevent the chicken skin from getting super crispy. However, there are several vegetables (like broccoli or asparagus) that you can roast on 450F for only 10-15 minutes while the chicken is resting.